This is a review of the Carl’s Place C-Series Golf Simulator Enclosure. I’ve had the Carl’s DIY Simulator enclosure in my garage for about 1 year and I just upgraded it to the new C-Series enclosure.
When I first had the idea to build a home golf simulator I was overwhelmed and assumed it wasn’t really possible. When I discovered you could buy a pretty simple golf simulator enclosure kit I felt like the whole thing was easier than I once thought.
Overall, I’ve found the Carl’s C-Series Enclosure to be an improved version with a cleaner fit than the original enclosure.
I also found Carl’s Place to be an excellent company with great customer service which I’ll explain further in this article.
Continue reading for all the details on the new C-Series enclosure and Carl’s Place.
BLACK FRIDAY SALE: 25% OFF Carl’s Brand Products with Enclosure Purchase
USE CODE: SIMSZN25
Table of Contents
Video Review
Assembly
The assembly of the enclosure was pretty simple as there’s 3 main steps:
- Assemble the frame using 1” EMT (electric metallic tubing) and the pipe connectors.
- Attach the nylon enclosure to the sides and top of the frame using Velcro and ball bungees.
- Attach the screen to the frame with zip ties and cable across the bottom.
I was able to set the entire thing up by myself in just over an hour.
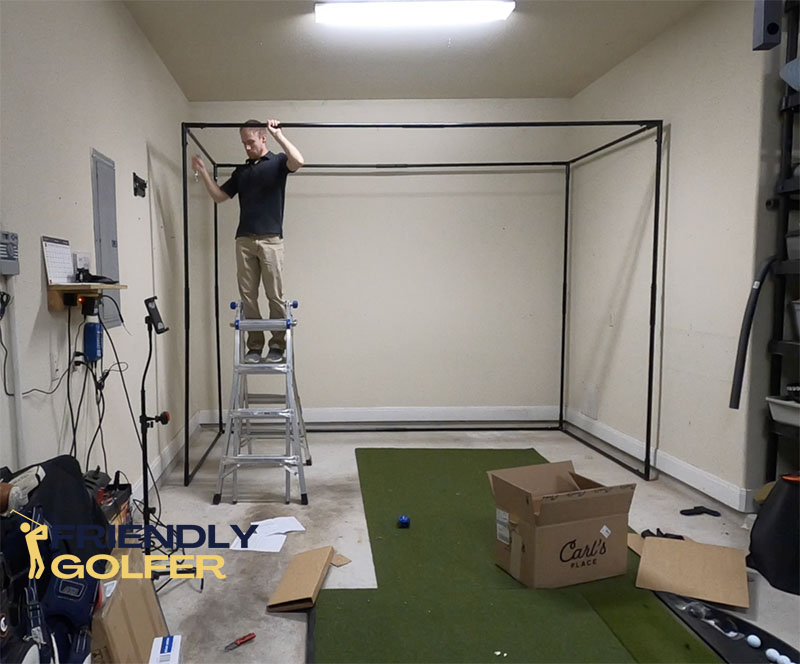
The hardest part was connecting the long crossbars on a ladder but it would have been easy with an extra set of hands for that part.
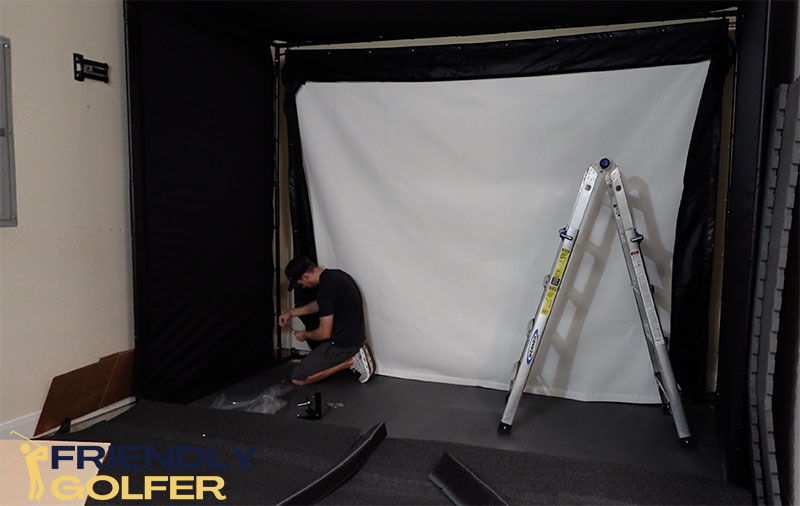
It was also easy because I purchased the pipe framing kit from Carl’s Place which includes all of the EMT pre-cut to size. You can opt not to purchase that and save some money by sourcing the EMT from a local hardware store.
Finished Look
Once it was all put together I have to say it looked great. Much better than my original Carl’s Place DIY Enclosure that had some excess slack in the screen.
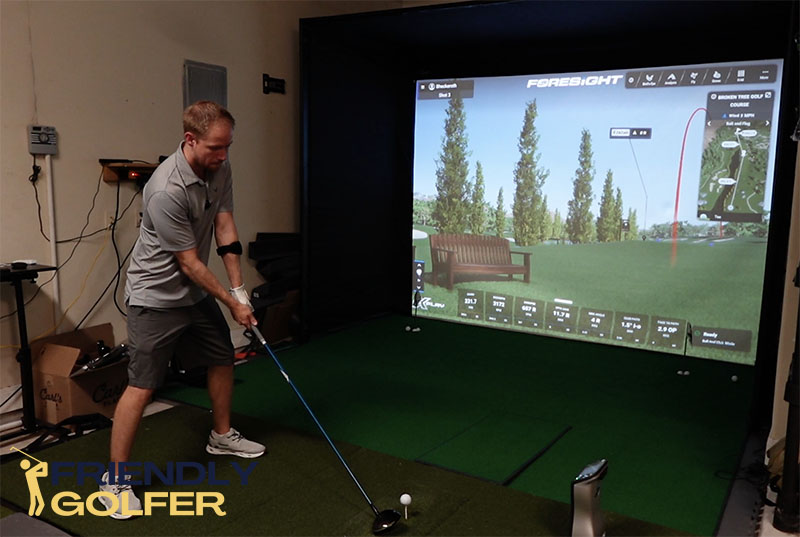
The new C-Series Enclosure uses a screen that goes all the way to the floor where the original DIY Enclosure screen had a black flap at the bottom which meant the visible area was shifted up from the ground.
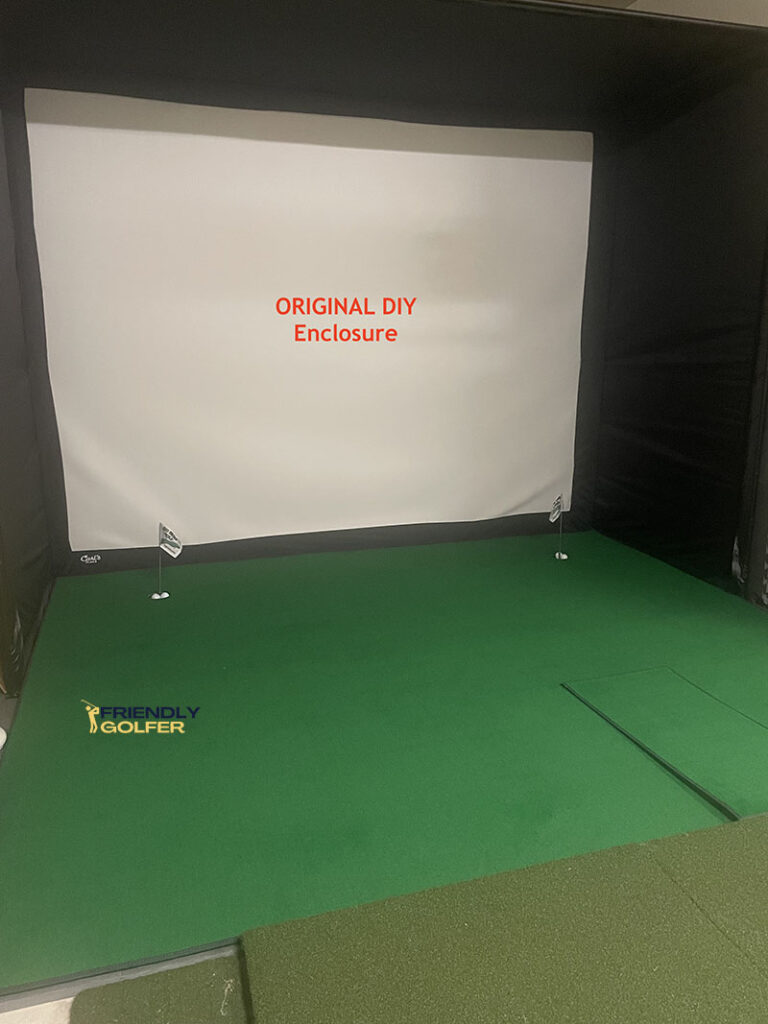
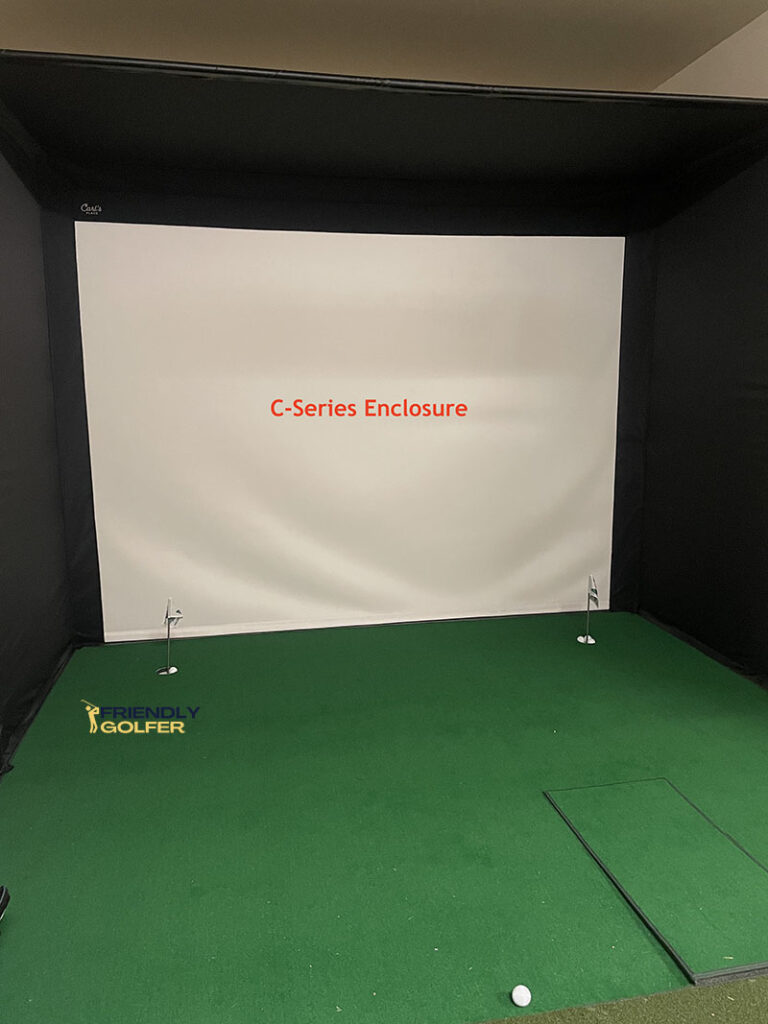
The new screen gives a cleaner look and makes it a little more realistic with putting and short shots around the green.
I also think the screen fits better in general and has less slack. You can adjust the tension but don’t want it too tight or you’ll get excessive ball bounce back.
Screen Options
Carl’s offers 3 different screen options:
- Standard
- Preferred
- Premium
I’ve had the premium screen on both the original DIY Enclosure and my new C-Series Enclosure.
It has a very fine surface and is multi-layered to help absorb impact and sound. It’s actually kind of soft and squishy almost.
The Preferred screen is a single-layer but still tightly woven.
The Standard screen is loosely woven and designed to be a budget screen.
Ball Bounce Back
One common problem with golf simulator screens is ball bounce back. That’s when the ball hits the screen and bounces back towards you with too much speed.
It can send golf balls flying behind you and rolling around the room you’re in.
This is controlled by the distance you are hitting from as well as the tension on the screen.
10-12ft from the screen is ideal although you can get away with more or less depending on your setup.
The original DIY Enclosure screen was attached with ball bungees just like the nylon enclosure material. At first I used all of the bungees and the screen was super tight.
I got way too much bounce back when hitting my longer clubs.
To reduce it, I had to remove multiple bungees on all sides until the bounceback was acceptable. Unfortunately this caused some excess slack and waves in the screen.
The new C-Series enclosure screen is attached with zip ties on the top and sides and a wire cable through the bottom.
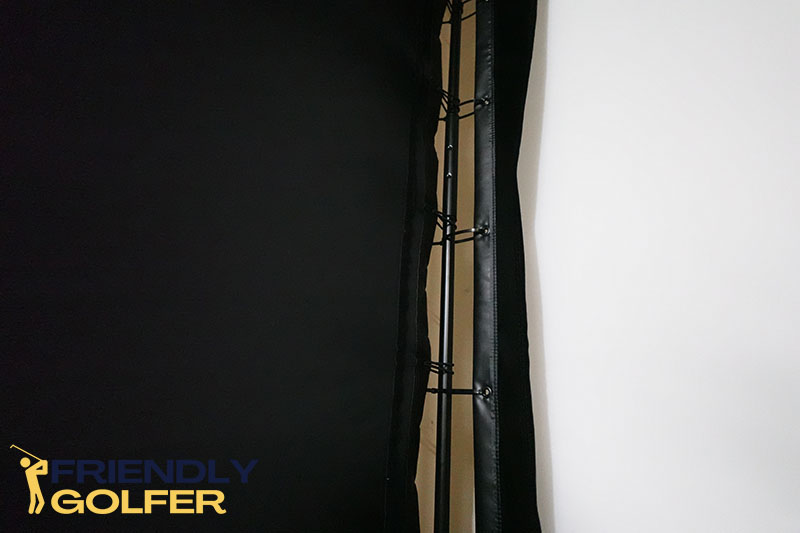
When I first set it up I only tightened the zip ties enough to hold the screen in place, evenly on all sides. I assumed I would have to make some adjustments later but to my surprise I didn’t.
The new C-Series Enclosure screen seems to be a better fit and has less slack.
Enclosure Add-Ons
Pipe Framing Kit
I mentioned above that adding this made the whole thing pretty easy. Just take everything out and assemble.
If you’re looking to save some money then you certainly buy your EMT from Home Depot and cut it all yourself. Carl’s Place will give you all of the exact lengths to cut to as well.
Net Wall Extensions
These velcro to the side of the enclosure and are held in place by sandbags on the other end. They may be a good idea if you’re worried about a shank bouncing around your room but their usefulness will mostly depend on your setup.
I hit from about 11.5ft away from the screen and I’ve only had 1 or 2 shanks miss the enclosure completely.
Also, my hitting strip is offset to the right of center.
If I were hitting from the center those shanks may have stayed within the enclosure.
The farther away you hit from the screen the more likely these are a good idea.
Foam Insert Kit
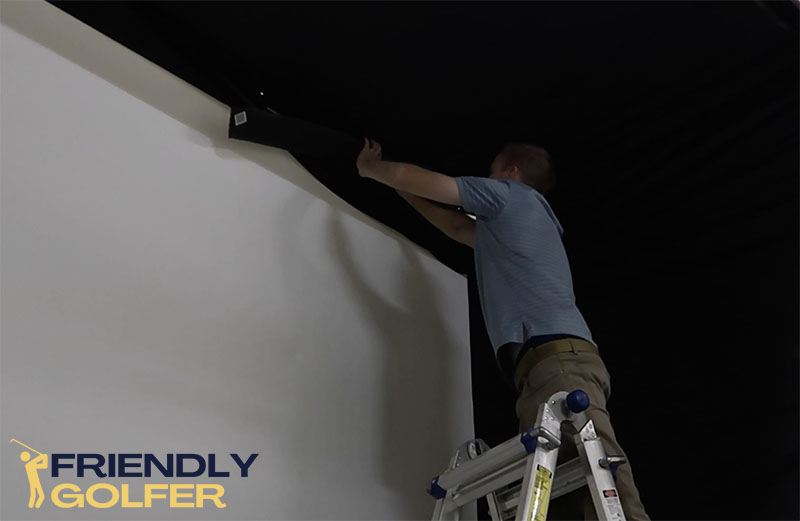
These are pieces of foam designed to fit within the flaps around the edge of your screen.
Without them there’s a chance a golf ball hit at the edge of the screen could bust the velcro flap and bounce off the pipe behind it.
Again, your specific setup may dictate how likely that is. In my case, it happened once or twice.
Instead of the foam kit from Carl’s Place I picked up some gutter foam from Home Depot. Its triangular shape fits perfectly under the flaps of the screen. This is a much cheaper DIY solution.
Back Cover Kit
A new option for the C-Series Enclosure is the Back Cover Kit. This adds more framing just behind your screen that’s covered with more nylon enclosure material.
The idea here is that it blocks any ambient light behind the screen which will give you a much better projected image.
My enclosure has a solid wall about 16” behind it so I didn’t find it necessary but I do think it will be a big help for some people.
Ball Marks
One thing you should be aware of is that your screen will get plenty of ball marks on it but it’s normal and shouldn’t be very visible when your projector is on.
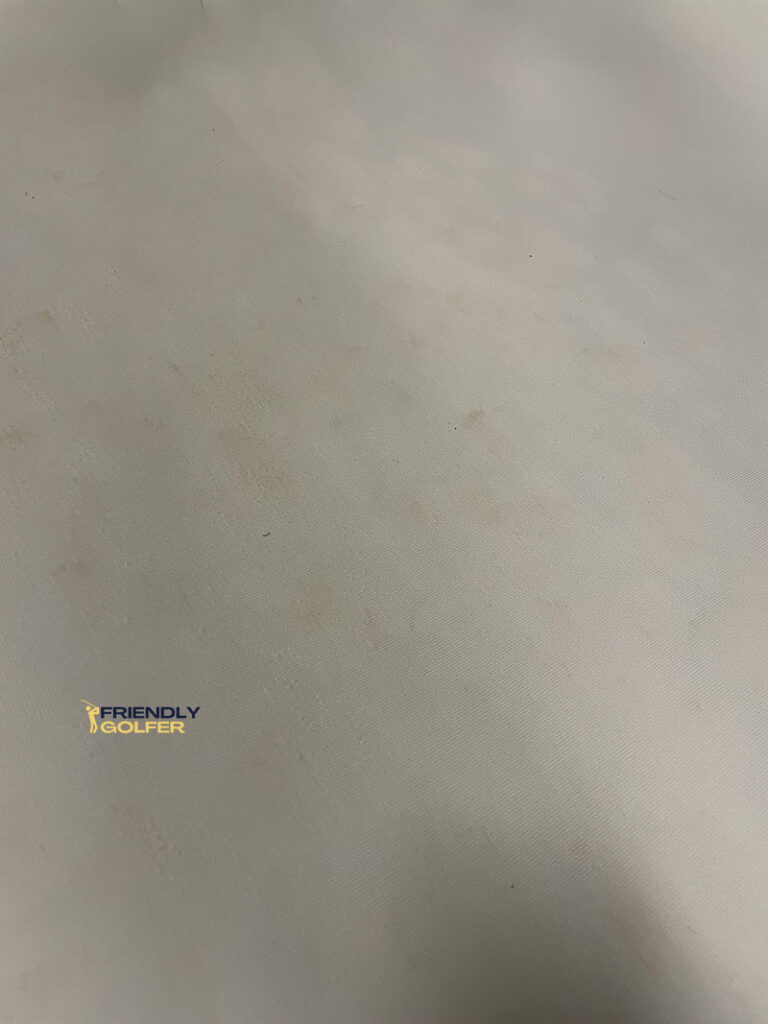
You should always use clean golf balls and clubs and don’t use any balls with sharpie markings on them because it can rub off on the screen.
The ball marks that you can’t avoid are actually slight burns from hitting high spin shots (mostly your wedges).
Up close you’ll see some light brown markings and scuffs. Some people choose to use low-spin golf balls to avoid this but for me I want to use the same ball I play with (ProV1).
Just don’t be surprised when you come across this.
Carl’s Place Customer Service
If you are building a new golf simulator it makes sense to purchase as many of the components as possible from one source so that they can help you with any issues you might have.
Here’s an example.
I knew I was going to buy my simulator enclosure from Carl’s and I was trying to figure out what projector I should go with.
The projector is the most complicated part of building a golf simulator in my opinion.
I picked one out (I don’t remember how exactly) but at the last second I decided to contact Carl’s customer support and see what they said about it.
Turns out the one I had picked out needed to be mounted too close to the screen and is better to be floor mounted. I wanted to mount my projector to the ceiling.
Carl’s customer support recommended another projector at the same price that could be mounted just overhead and behind my hitting strip.
They saved me from making a mistake and I knew I could contact them again if I had trouble setting it up.
I could have bought either of those projectors on amazon for the same price.
Carl’s Golf Simulator Builder
Carl’s Place has built an online tool that walks you through building your entire golf simulator.
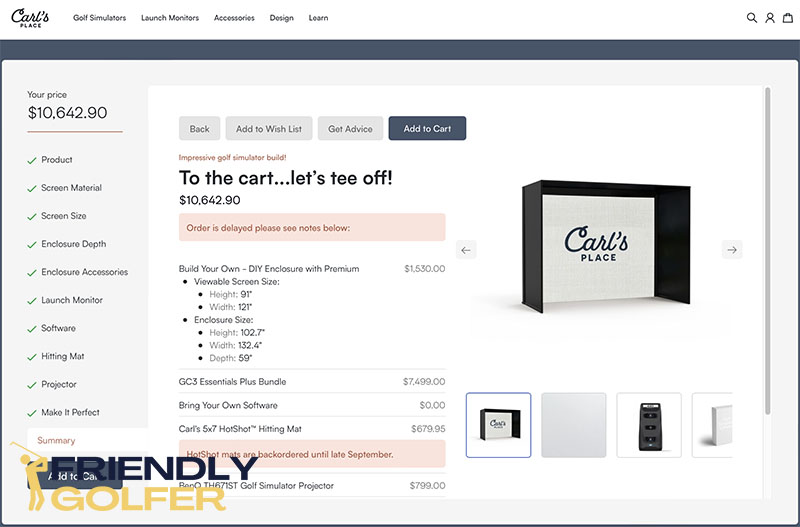
You can pick out your enclosure, add options, your launch monitor, projector, hitting mat, etc.
So if you need more than just the enclosure, try out this tool and simplify your golf simulator build.
Pros & Cons
Pros
- Best price I’ve found on golf simulator enclosures
- 6 standard sizes and custom sizes available
- Improved fit with minimal bounce back
- Multiple add-on options
- Excellent customer service
Cons
- Releasable zip-ties are hard to release if you’re trying to loosen them
BLACK FRIDAY SALE: 25% OFF Carl’s Brand Products with Enclosure Purchase
USE CODE: SIMSZN25
Alternatives
SIGPro Enclosures
The SIG Enclosures are more expensive but include many things standard that Carl’s Enclosures don’t like foam padding and side wall netting.
Also, rather than 1” EMT the frame includes all the necessary poles with push pin connectors.
SIG DIY Enclosure
The SIG DIY Enclosure is a similar offering that lets you source your own EMT to save some money.
This option includes all of the pipe connectors, enclosure, screen, padding, and net extensions.
If you’re just starting your golf simulator build I recommend you start planning by reading How to Build a Golf Simulator next!


