
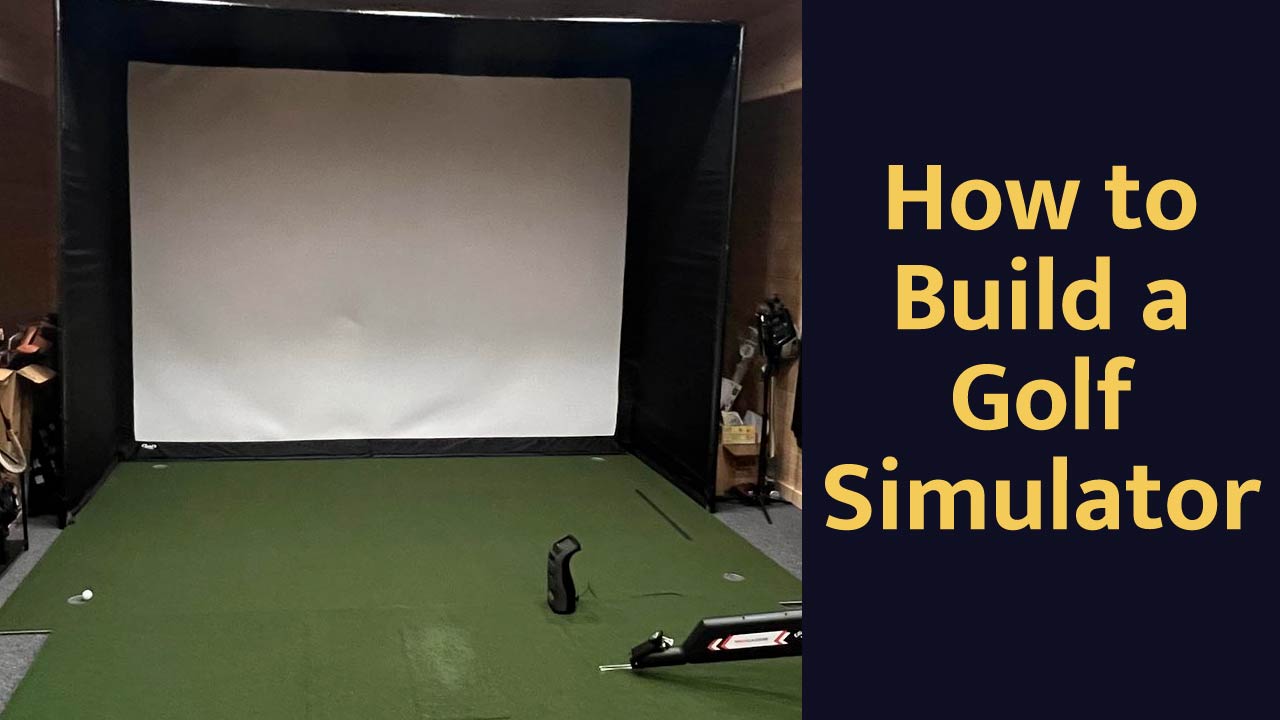
Building a home golf simulator is becoming more popular than ever but it can still be a confusing and tedious process.
You can easily get “paralysis by analysis” and not know where to start after researching all the options.
To make it simple, there are just a few steps you need to get through to build your own home golf simulator:
- Determine your space
- Choose your launch monitor
- Buy a Gaming PC
- Buy a Simulator Enclosure or your own DIY impact screen
- Mount a Projector
- Buy a Golf mat and/or Flooring
In this guide I’m going to walk you through it and share everything I’ve learned about how to build a golf simulator in your home, garage, or basement.
Let’s get started!
P.S. – If you get overwhelmed, skip to the last section for some “done for you” options!
Table of Contents
- Why Do You Want to Build a Golf Simulator?
- How much space do you need for a Golf Simulator?
- Choose the Launch Monitor – the Brain of Your Golf Simulator
- Golf Simulator Software
- Choose a Gaming Computer for your Golf Simulator
- Golf Simulator Screens & Enclosures
- Hitting Mats, Hitting Strips and Flooring
- Golf Simulator Projectors
- Make a Floor Plan
- Feeling Overwhelmed? Go with a Complete Golf Simulator Package
Why Do You Want to Build a Golf Simulator?
Before starting any of the actual planning I think it’s important to ask yourself why you want to build a golf simulator in the first place?
I find there’s generally two reasons:
1. Serious Game Improvement
You want to get better and need a place to practice. Your priority for your golf simulator is accuracy and maybe some software that will help you practice.
2. Entertainment
You just want to add something fun to your home that you can enjoy with your friends and family. You know you’ll never be on the PGA Tour so as long as accuracy is reasonable you’re happy. Also, you may want your simulator to look really cool! Maybe it’s the main feature of your man cave.
You’re probably one or the other here and some folks fall somewhere in-between.
Just get clear now with what you want out of this because you will most likely have to prioritize some things to fit your budget.
Ok, that’s out of the way. On to the real stuff.
How much space do you need for a Golf Simulator?
It varies, but you generally need at least 12ft wide x 9ft high x 14ft deep.
The golfer’s height, the type of launch monitor, and of course the size of your components like a screen enclosure or net will all determine how much space you need to build your golf simulator.
Golf Simulator Depth
Start with the launch monitor.
Radar launch monitors like the Garmin R10, Flightscope Mevo Plus, and Trackman all require more space because the radar needs to track a certain amount of ball flight.

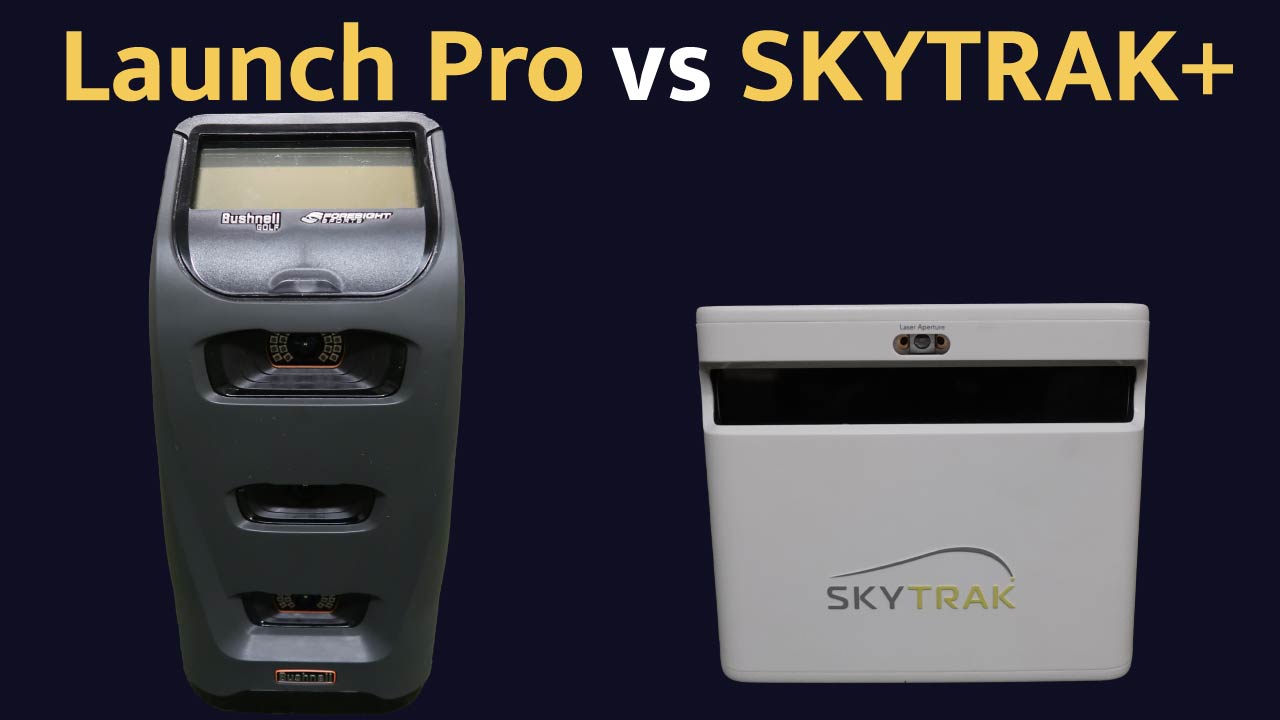
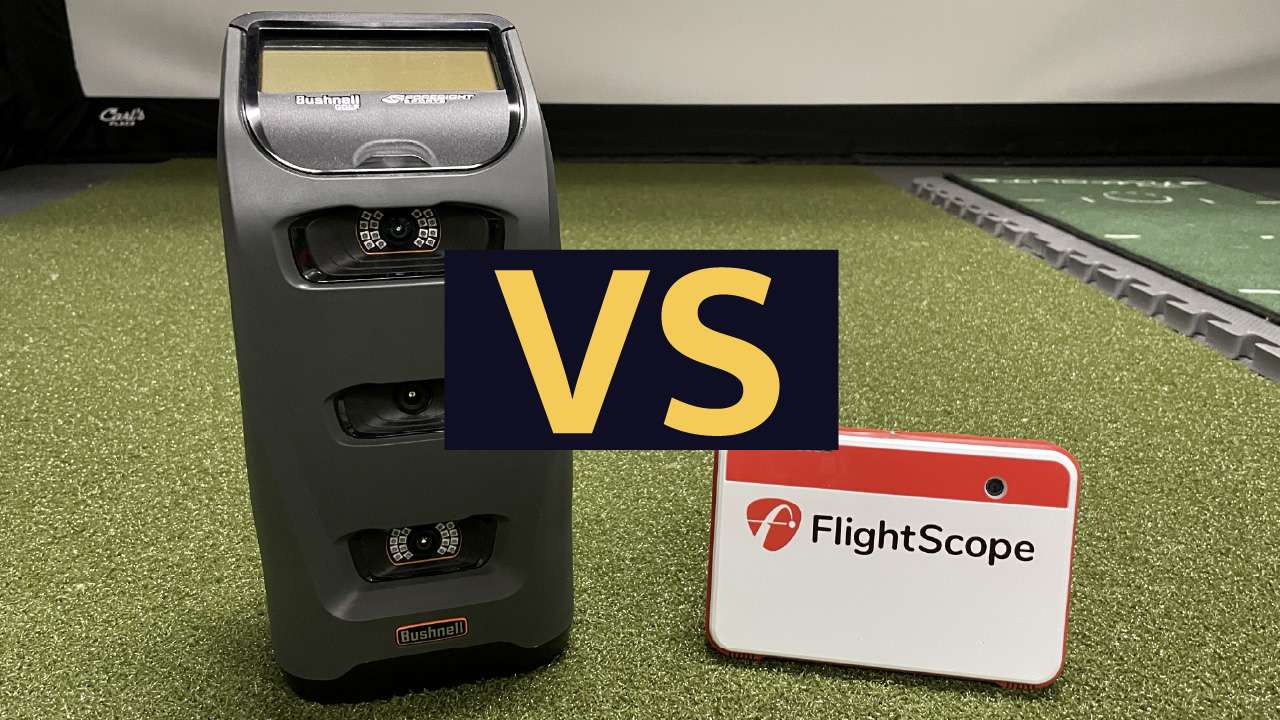
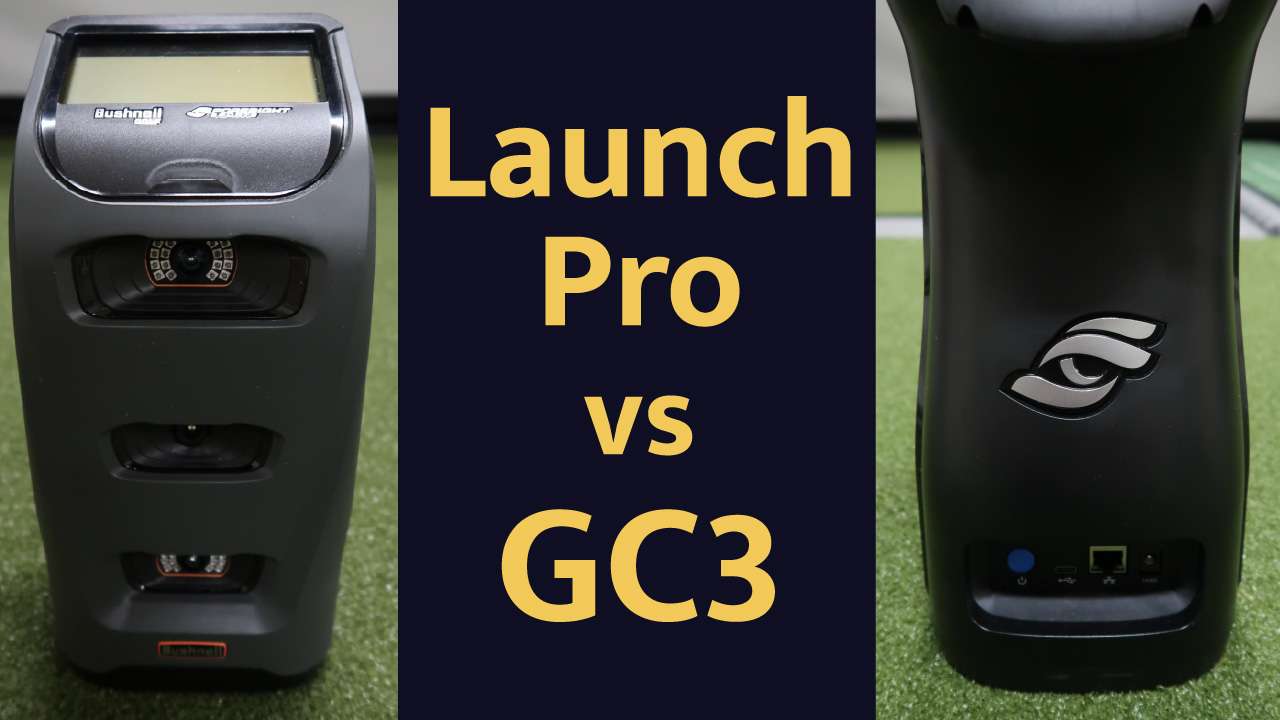
If you don’t have at least 18ft of depth in your simulator room you will probably need to go with a camera-based launch monitor like the Skytrak, Bushnell Launch Pro, Foresight, or Uneekor systems.
Camera-based launch monitors don’t need as much space because they only track the ball right at impact. The ball flight doesn’t matter.
Each launch monitor will list their own space requirements but for the most part camera-based launch monitors just need enough room for you to safely swing a club.
Golf Simulator Width
I listed 12ft as the minimum width but if you want your ball to line up directly in the middle of your impact screen you will probably need at least 15ft of width.
This will give you just over 7ft on either side of the ball so both right and left-handed players can use your simulator without having to rearrange anything.

This is called “center hitting”.
If you don’t have that much width you will probably have to “offset” your hitting strip from the center of the simulator.
That’s how my simulator is set up and just about every simulation software allows you to make an offset adjustment that will match the picture up with your hitting strip location.

Some folks have made spaces with less than 12ft of width work but they most likely do not have the space to swing their driver or longer clubs.
Golf Simulator Height
This is pretty straightforward – you don’t want to hit the ceiling with your longest club.
For most people 9ft is good enough. If you’re taller or have a more upright swing you might need more.
Take some slow practice swings in your proposed golf simulator space and see how close you are to the ceiling.
Remember you might be standing on a golf mat that’s 1 to 3 inches thick.
Choose the Launch Monitor – the Brain of Your Golf Simulator
In most cases you can narrow this down by determining the amount of space you have to work with (which we just discussed) and your budget.
If you don’t have at least 18ft of depth you can pretty much rule out any radar launch monitor.
Remember how I asked you to determine what your motivation for building your golf simulator was at the beginning?
If you’re a game improvement guy I recommend you spend more of your budget on your launch monitor.
You really do get what you pay for here and in the sim golf community you will see so many people start with a cheap launch monitor only to upgrade later on.
If you are more concerned with just having fun then you may want to spend more of your budget on your screen, projector, flooring, etc…
Launch Monitors for Golf Simulators by Price
| Launch Monitor | Tracking | Type | Base Price |
|---|---|---|---|
| Garmin R10 | Radar | Portable | $599 |
| Rapsodo MLM2Pro | Radar | Portable | $699 |
| Flightscope Mevo+ | Radar | Portable | $1979 |
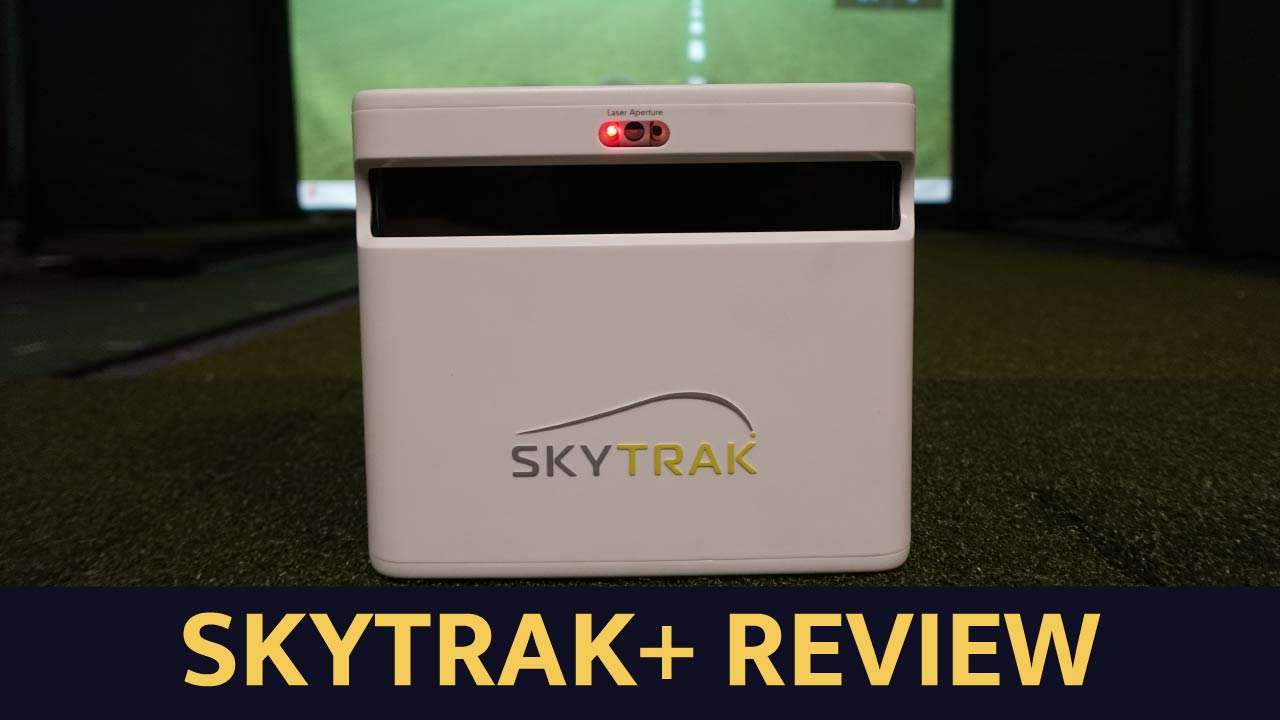
| SKYTRAK | Camera | Portable | $1995 |
| SKYTRAK+ | Camera | Portable | $2995 |
| Bushnell Launch Pro | Camera | Portable | $3499 |
| Uneekor Eye Mini | Camera | Portable | $4500 |
| Full SWING Kit | Radar | Portable | $4999 |
| Uneekor QED | Camera | Ceiling Mount | $7000 |
| Foresight GC3 | Camera | Portable | $7499 |
| Uneekor EyeXO | Camera | Ceiling Mount | $10,000 |
| Uneekor EyeXO2 | Camera | Ceiling Mount | $14,000 |
| Foresight GCQuad | Camera | Portable | $14,000 |
| Flightscope GCHawk | Camera | Ceiling Mount | $19,500 |
| Tackman 4 | Radar | Portable | $21,495 |
Launch Monitor Reviews


Golf Simulator Software
Your launch monitor is going to come with some kind of native software or app that will at least provide a basic driving range.
Some launch monitors also have their own simulation software such as Foresight’s FSX Play and FSX 2020.
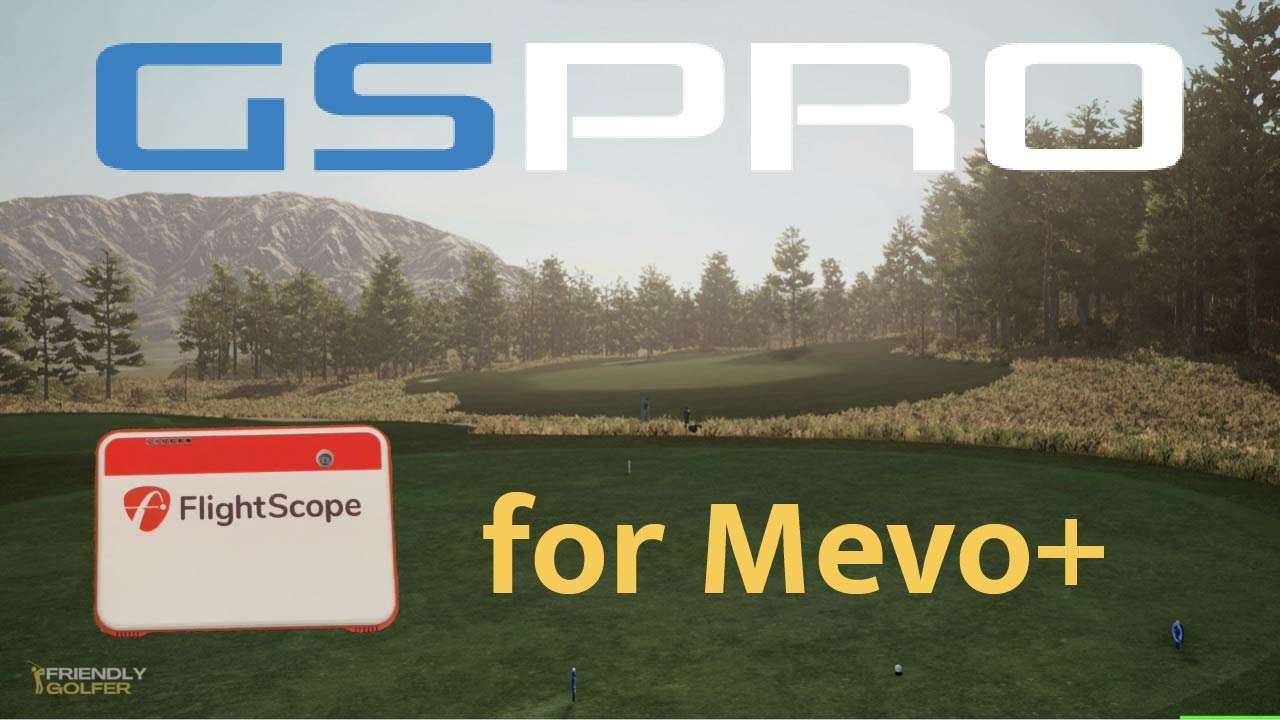
There are also 3rd party options that you can purchase and connect just about any launch monitor to such as GSPro, E6, and TGC2019.
I would highly recommend you go with GSPro as it’s the least expensive and offers a ton of courses, great graphics, stable software, and you can join the Simulator Golf Tour to compete with other simulator owners every week.
Whatever you decide, just take a look at the system requirements so that you can choose a gaming PC.


Choose a Gaming Computer for your Golf Simulator


You’ll want to know what the recommended PC requirements are for all of the software that you plan to run.
That includes any native software for your launch monitor and any 3rd party simulation software.
The most important spec for your computer is the GPU or “graphics card”.
If you don’t have at least the minimum GPU requirement it can really ruin your experience.
I always recommend going just a step higher than what’s recommended if you can.
This is called “future proofing” and will hopefully keep your computer fully capable of handling any future updates.
iPads and Tablets
It is possible to run your golf simulator completely on an iPad if you want to skip the gaming PC.
Some launch monitors have native mobile apps you can use and there are a few iOS versions of golf simulator software such as:
You can still use a projector or TV if you buy an HDMI adapter that fits your device.
SKYTRAK and Flightscope Mevo Plus are probably the best launch monitors for an iPad only golf simulator.
Golf Simulator Screens & Enclosures
You’ll need a screen to project the image onto that can also withstand the impact of your golf ball.
Some folks have made some makeshift impact screens with bedsheets or white curtains but I would not recommend it.
Enclosure Kits
The easiest option is to buy a simulator enclosure kit which will give you a proper impact screen, sidewalls, and a ceiling.
These kits are generally framed with 1” EMT conduit piping and the sidewalls and screen are attached with ball bungees.
There are a lot of these golf simulator enclosures available but I highly recommend the kits from Carl’s Place. They are the least expensive I’ve found and are extremely popular in the sim golf community.

6 standard sizes
Best value on simulator enclosures!
I have the 8ft x 10.5ft enclosure kit in my garage golf simulator and I added the pipe framing kit so I wouldn’t have to buy and cut the EMT myself. I just took it out of the box and assembled everything.
DIY Screens
You can also buy an impact screen by itself from Carl’s Place and build it into your space yourself.
In this case people generally:
- Frame the screen opening with wood
- Attach slotted angle around the wood
- Attach the screen to the slotted angle with ball bungees

That’s the rough idea but it’s obviously up to you how you want to build it in.
TIP: You want 12”-18” of space behind your impact screen so that it has room to stretch when hit with a golf ball.
Golf Nets
If you’re looking to save some money you don’t necessarily have to use a screen and projector.
You can hit into a golf net and mount a TV nearby to watch your shot (or your computer screen).
This is exactly how I started out hitting balls in my garage and after a few months I decided to take the plunge and build my full golf simulator.

The net I used and recommend is the Net Return Pro V2. It’s very high quality and doesn’t compare to the cheap nets you can find on Amazon.

- Multiple Sizes
- 250,000 Shot Guarantee
- Easy to Assemble and Disassemble
- 10% Off With Code: FRIENDLYGOLFER10
Hitting Mats, Hitting Strips and Flooring
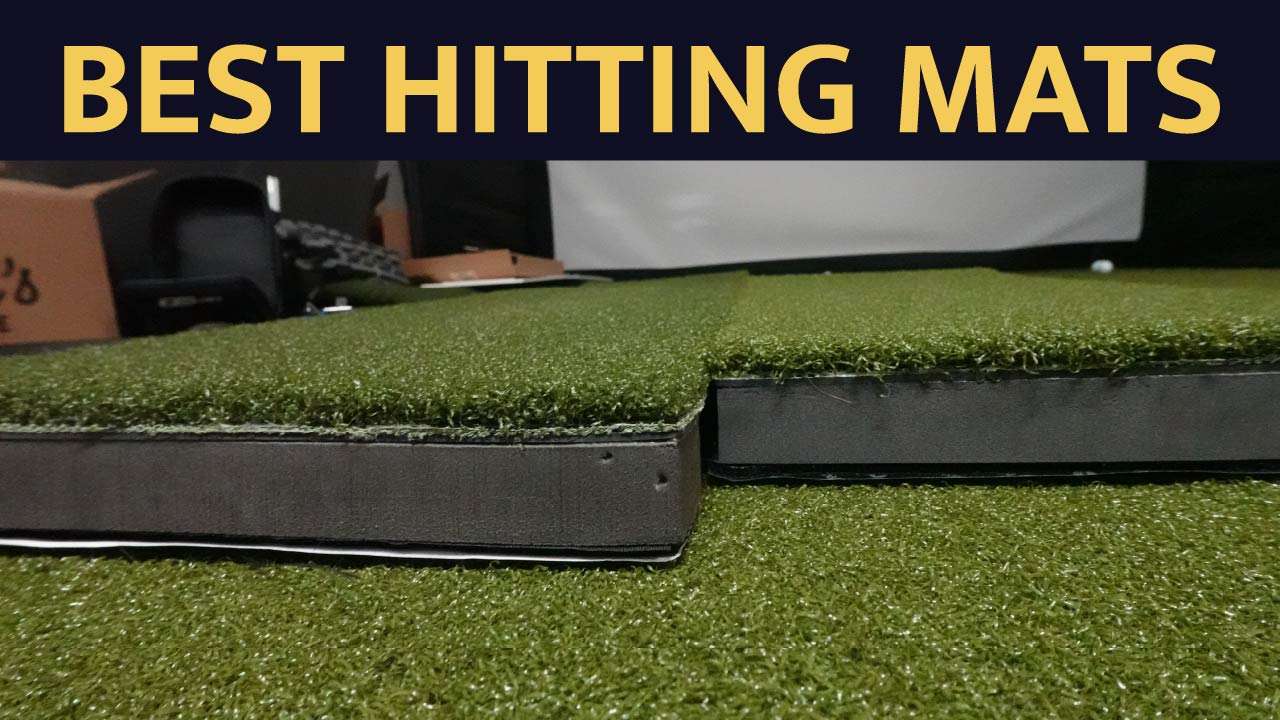
I can’t overstate the importance of a high quality golf mat in your simulator.
A bad hitting mat can cause elbow, wrist or shoulder injuries that last years and keep you from playing golf.
I made that mistake at first and I paid the price.
Unfortunately it’s a hard item to buy without trying first and you can pretty much only buy them online.
That’s why I bought and tried all the most popular hitting mats so that I could review them for you.


Golf Simulator Flooring
There’s really a few ways the floor in your golf simulator might look.
There’s nothing wrong with this, especially if you have a camera-based launch monitor.
If you have a radar launch monitor you probably won’t be able to putt on your simulator since they require an even surface from your hitting strip to your screen.
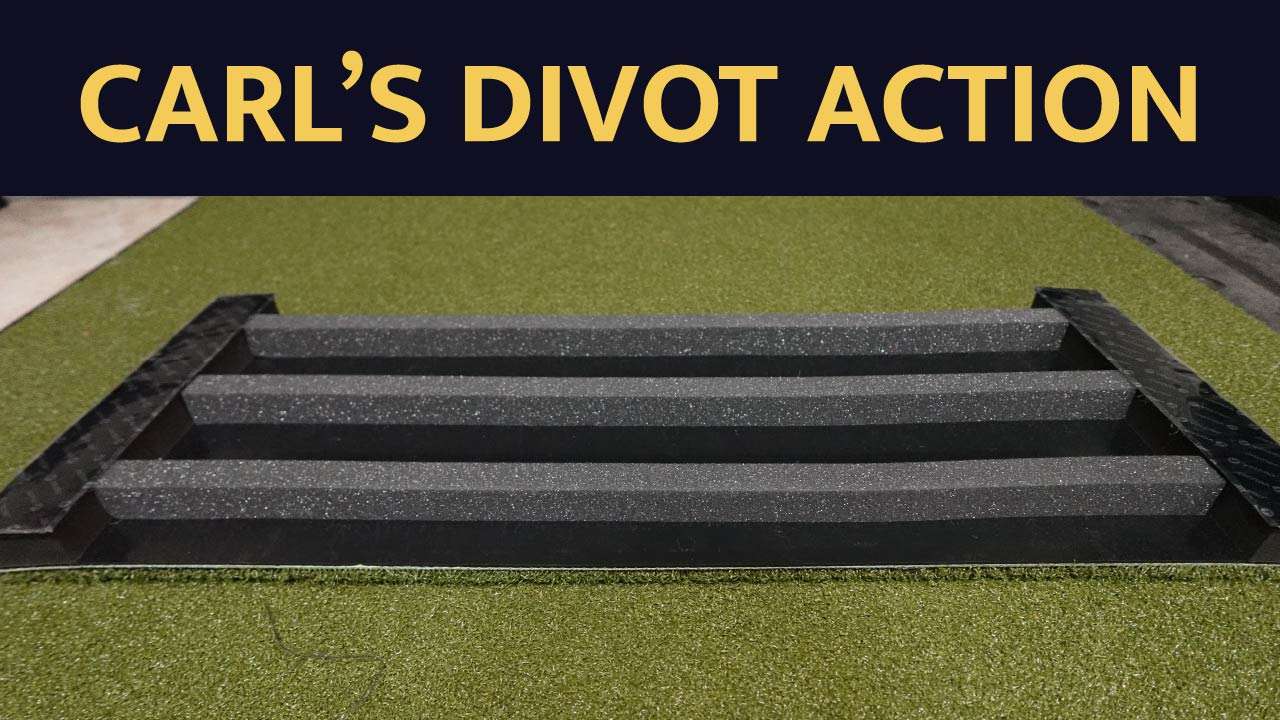
You also may need to build up some flooring behind your mat so that your launch monitor has an even surface between it and the golf ball.

The idea here is to build a subfloor out of 1”-2” material so that you can insert a hitting strip into the subfloor. This makes your entire golf simulator floor even an even surface.

Most people either use puzzle-fit foam tiles or foam board insulation sheets as their subfloor material.

- PROTECTIVE, PORTABLE FLOORING – Dense, durable tiles protect floors and withstand gym equipment and heavy use
- DIFFERENT LEVELS OF COVERAGE – Each tile measures 24”x24”x3/4” or 24″x24″x1″; 2 sets are available for each thickness. The ¾”offers pack of 6 tiles (24 SQ Ft) or 24 tiles (96 SQ FT) and the 1″ offers pack of 6 tiles (24 SQ Ft) or 18 tiles (72 SQ Ft)
- SIMPLE ASSEMBLY – Lightweight pieces quickly connect; easy to disassemble and move. Great for gyms, fitness studios, or play areas.
- HIGH QUALITY FOAM – High-density EVA foam provides excellent support and cushion; Contains NO toxic phthalates
- SAFE & LOW-MAINTENACE – Non-skid textured surface provides traction; Water-resistant and noise-reducing design.
This is the option for those that want a professional look and don’t want to mess with any DIY stuff.
It’s also the most expensive.
The two main options here are:
SIGPRO Flooring
This is a kit with plastic tiles, putting turf and cups, and the SIGPRO Softy insert ready to go.

Photo: After Work Golf Club
These are mats that combine the high quality Fiberbuilt hitting mats with their putting greens. They are available in custom sizes to fit your simulator but you have to call them to get a price.
Golf Simulator Projectors
Brace yourself.
The projector is the most annoying part of the whole golf simulator project. It was for me at least.
Where to Mount Your Projector
Start by determining where you want your projector mounted.
Ideally it would be ceiling-mounted, centered, and just a few feet behind the golfer.
You can use this throw calculator to determine the ideal mounting location for any projector you’re interested in.
Create a Custom Resolution
One thing that was really important to me was that the image filled my entire screen. I didn’t want any black bars surrounding the image.
This is generally caused by your simulator screen being a different aspect ratio than your projector’s aspect ratio which is normally 16:9.
Most golf simulator screens have a 4:3 aspect ratio and some even use a 1:1 ratio (square).
This is because most people don’t have the space for a 15ft wide screen but still want at least 8ft of height.
Regardless, it’s easy to create a custom resolution for your projector so that it matches your screen.
Zoom and Keystone Adjustment
A couple of features that will make life a little easier are Zoom and Keystone Adjustment.
If your projector has a Zoom feature it will help you to fill the screen if it’s mounted just a little too close.
Keystone Adjustment helps you to adjust the image if your projector is mounted off-center (horizontal keystone) or with too much tilt up or down (vertical keystone).
TIP: If you’re using a simulator enclosure kit with it’s own ceiling your projector will need to extend down pretty close to the height of that ceiling. Otherwise the ceiling will cast a shadow onto the screen.
I purchased an adjustable height projector mount so that I could dial in the right height as-needed.
Make a Floor Plan
Once you’ve got most of these components chosen it helps to draw out a floor plan showing all the dimensions.
Don’t forget to include the location of electrical outlets so you know if you’ll need any extension cords.

Feeling Overwhelmed? Go with a Complete Golf Simulator Package
It can be overwhelming trying to piece all of these different components together.
If you’d rather skip a lot of the guesswork you can opt for a package deal from a golf simulator company.
Some packages are more complete than others so make sure you know what’s included. Sometimes they won’t include a computer or projector so you will have to source that on your own.
One benefit of buying a package is that you can rely on the company’s customer service to help you with questions on things like your projector location.
A downside is that you may not get all of the exact components that you want or the price may be a bit higher than if you bought everything separately.
It’s certainly a good option for those that just want to enjoy their golf simulator now without all of the headache!


Golf Simulator Builder Tool
You can build your own golf simulator package by using this tool from Carl’s Place.
It walks you through step-by-step giving you options and pricing for each component of your golf simulator.

When you’re done you will have your total price and you can simply checkout. This is a great option that makes it easy to make your own selections.
Hire a Golf Simulator Installation Company
Another option is to hire a professional golf simulator company to build your golf simulator for you.
They will consult with you to determine all of the technology and products to use for your simulator and then handle the project all the way through installation.
This is a great option for new construction homes or remodels where you are planning to really build-out an entire golf simulator room but they can help anybody looking to build their dream golf simulator.
